Accidentally generating an invoice and applying it to the wrong client is a common mistake. Once the invoice has been paid, undoing the error takes a few steps as shown below:
1. Create a new matter for each one included in the invoice.
- On the Matter Details page for an original matter, click the Save and Duplicate button.
- Complete the page for the new matter, giving it a new AttorneyRef to avoid confusion with the old one. Click the Update Matter button; click the Save button.
- Return to the original matter and change the application, publication, and patent numbers, so AppColl won’t find it when updating via XML or e-Office actions. (We suggest adding “old” to the end of the numbers.)
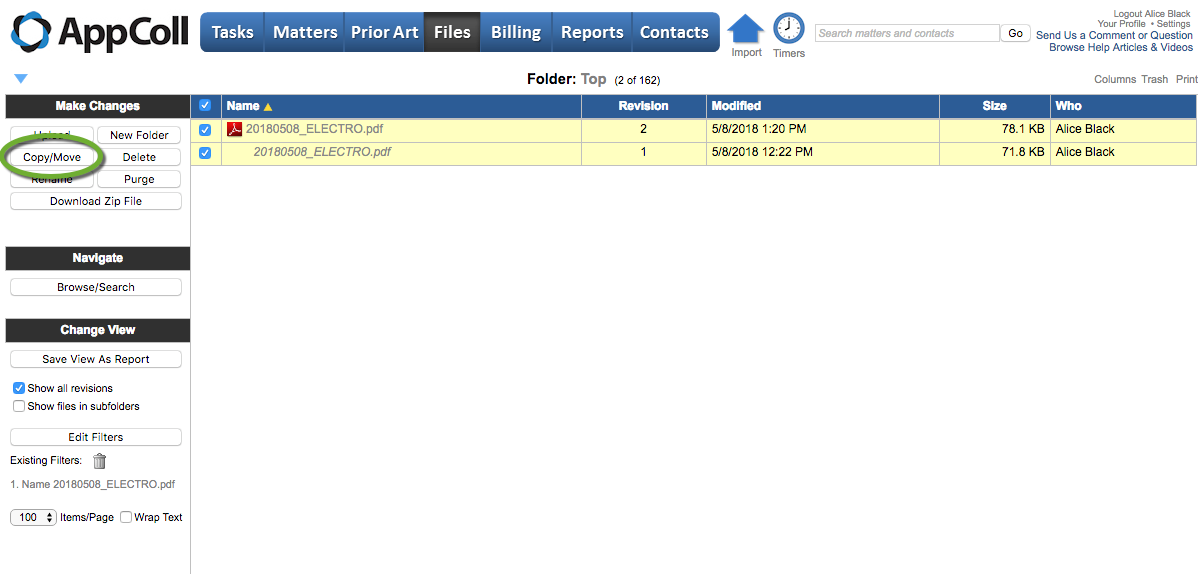
2. Transfer files from the original matter to the newly created one.
- In the Files module, locate and open the folder for the original matter.
- Select all the files by clicking the checkboxes in the left column.
- Click the Copy/Move button in the left margin and select the folder for the new matter in the popup window.
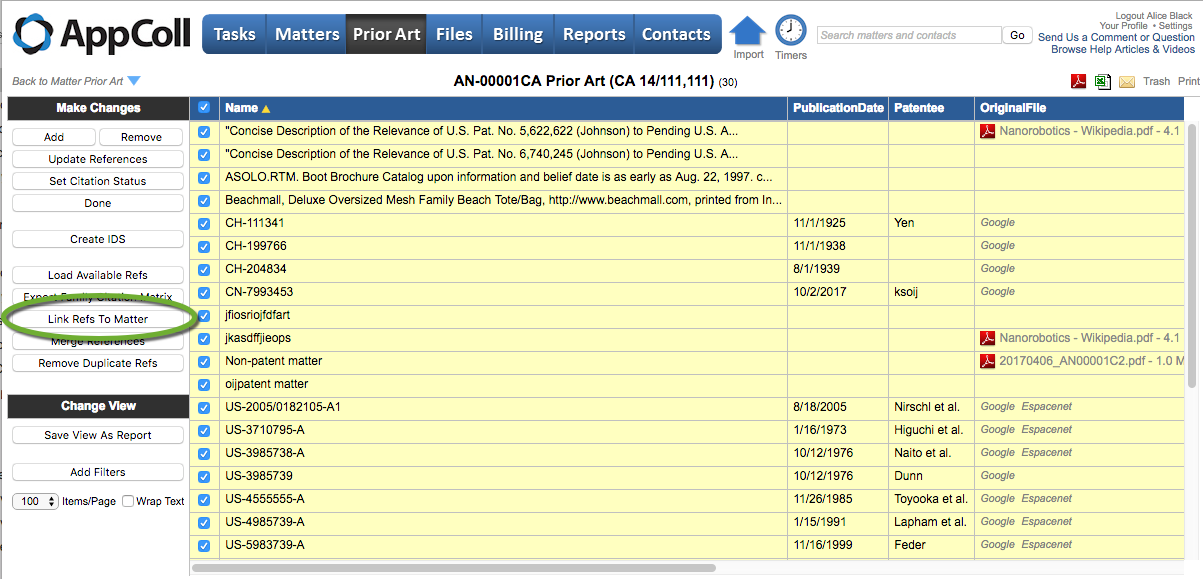
3. Transfer references from the original matter to the newly created one.
- In the Prior Arts module, locate and click on the original matter.
- Select all references by clicking the upper-most checkbox in the left column.
- Click the Link Refs to Matter button and complete the popup window to copy the refs to the new matter.
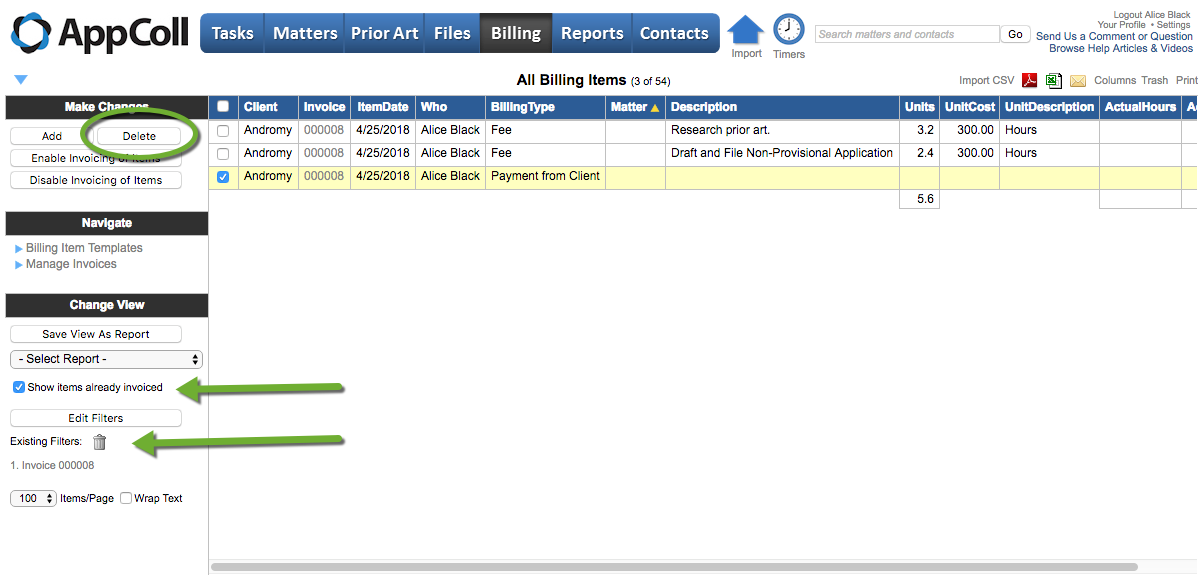
4. Delete any client payments made against the invoice.
- In the Billing module, click the "Show items already invoiced" checkbox in the left margin.
- Filter for the invoice number you need to change.
- Select any billing items that reflect payments against the invoice by clicking the checkbox in the left column of the billing item.
- Click the Delete button in the left margin.
5. Open the invoice being changed. Change the Status to Pending and click the Save button.
6. On the Invoices table, select the invoice by clicking the checkbox in the left column, and click the Delete button in the left margin.
7. Enter each Billing Item that appeared in the old invoice and change the Client to the new client.
8. Generate a new invoice that will pull in all the changed billing items.
9. Create Billing Items for any client payments that were originally applied to the original invoice, applying them to the new one.