AppColl's Signatures module automates the process of getting signatures on documents that are part of the IP management processes.
Although specifically designed for collecting signatures for inventor assignments and declarations, it can also be used to manage any other documents that are commonly signed, such as client engagement letters. When setup, the process of sending documents out for signature, reminding the document recipients that their signature is required, and storing the signed document can be completely automated.
Quick Setup and Test
1. Enable DocuSign from the Settings > Signatures tab. Enable the Signatures module and Connect to DocuSign. Enter your DocuSign credentials.


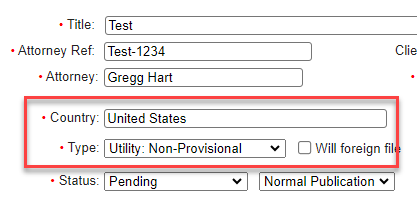
2. Create a new test Matter with Country “United States” and Type “Utility: Non-Provisional”. Add an Inventor (that has your email address), a Filing Date, and Application Number. Click Save.


3. From the Signatures module, check the record for the newly generated document. Click Send. Alternatively, click the Send link in the Status column.

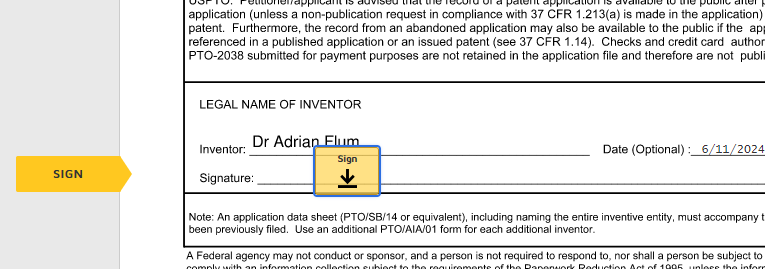
4. Use the DocuSign link in your email to sign the document. Follow the instructions to sign the document, then click on Finish.

5. In the AppColl Signatures module, click on the Refresh button to ensure the Status of the sent document is Completed.

Visit support.appcoll.com/signatures for more information