You can manually create billing items in AppColl, as shown below. If you prefer, you can upload multiple billing items using a spreadsheet as explained here. Finally, you also can create Billing Items using AppColl's timer feature.
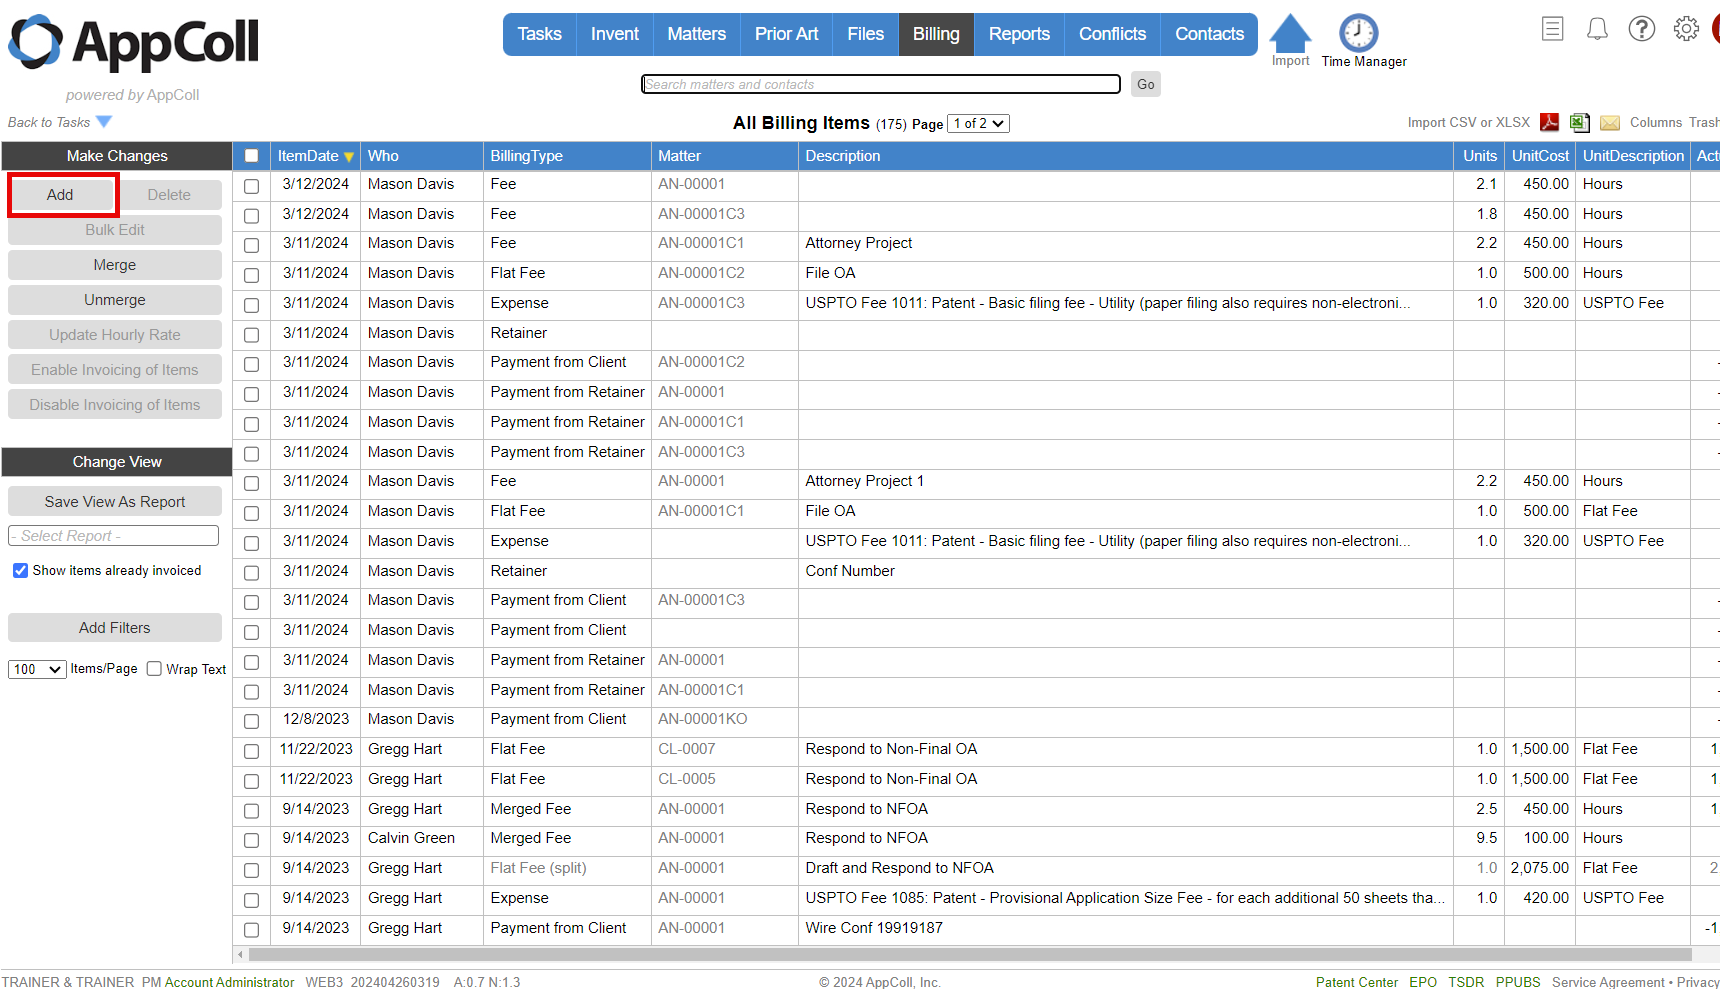
1. In the Billing module, on the main table, click the Add button in the Make Changes section of the left margin.

2. On the New Billing Item page, select the client. This will populate the matter and task drop-down lists.
3. (optional) Select a matter and/or task for this item.
4. Select the date the fee or expense was incurred.
5. Select the person either doing the work or recording the expense.
6. Select the type of billable item:
- Fee – normal services billed at an hourly rate.
- Fee Adjustment – adjustment to a previously billed fee.
- Flat fee – services billed at a flat rate.
- Expense – A fixed expense incurred, such as a filing or drafting fee.
- Expense Adjustment – adjustment to a previously billed expense.
- Fee and Expense Cap Adjustments should not be used as they are created automatically by AppColl as a result of a fee or expense cap.
- Information about Payments is described here.
- Write-Off – used to indicate the amount of an invoice that will not be collected from a client.

7. (optional) Check the Taxable Item checkbox if required. If an invoice includes taxable items, you will be able to specify a tax rate.
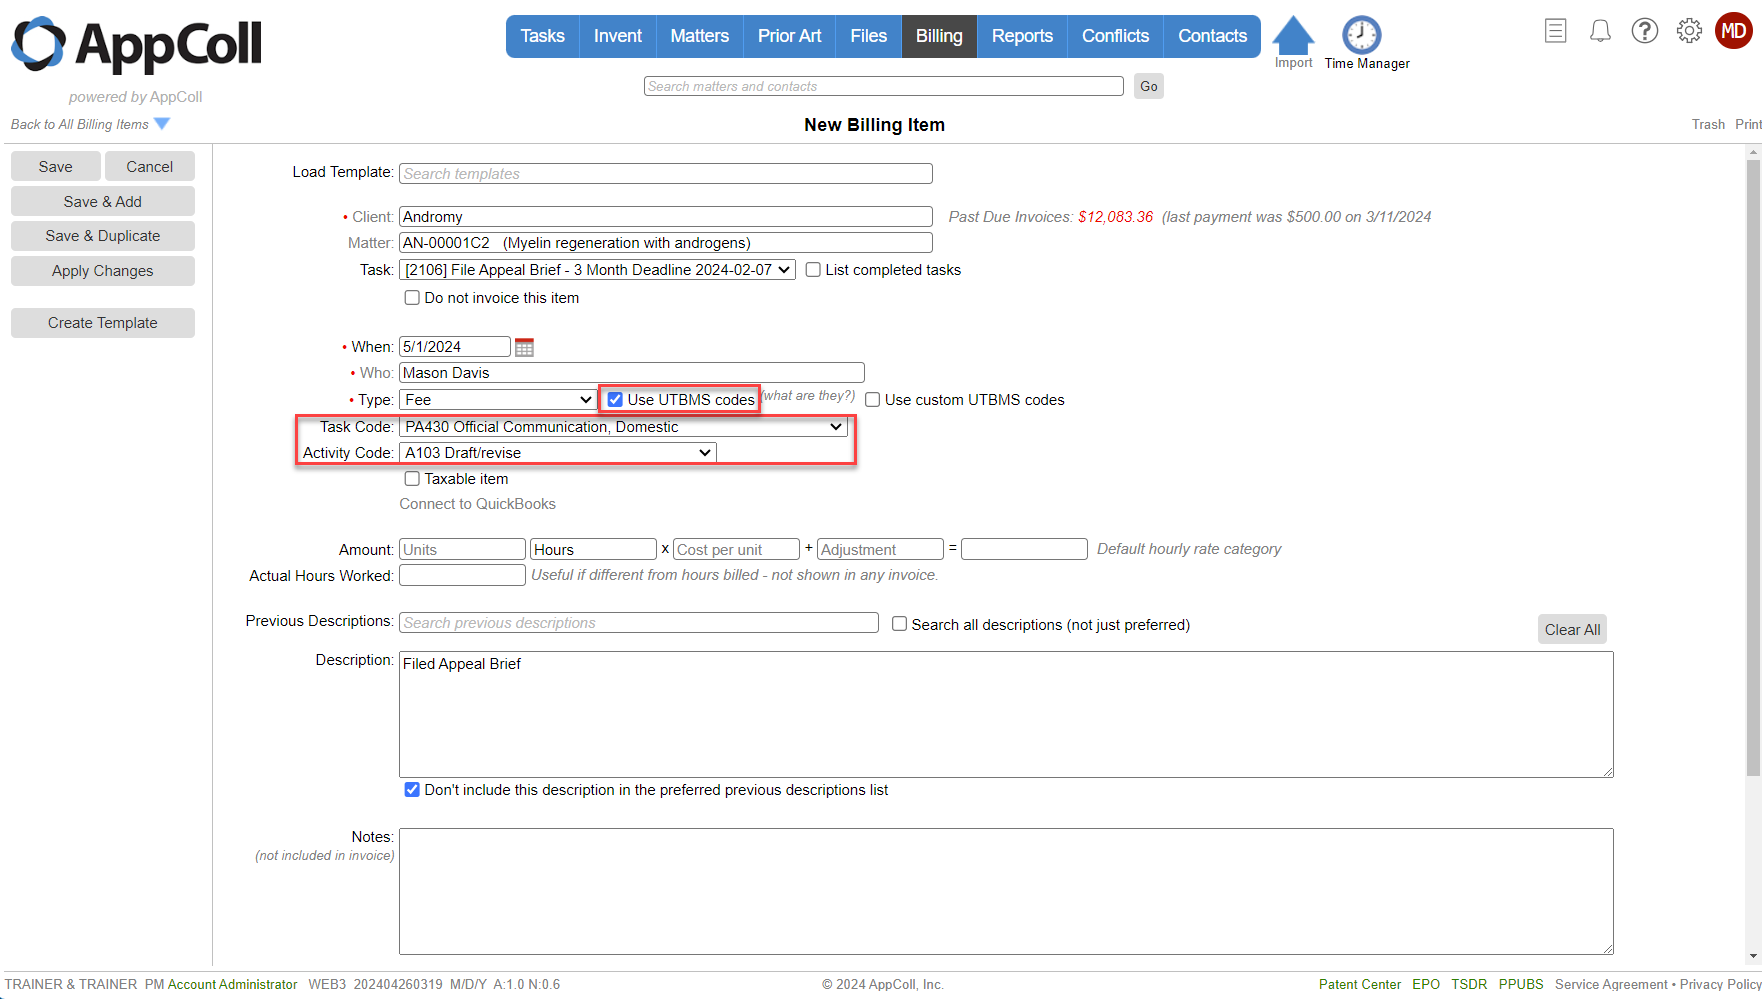
8. If you submit invoices for this client in a LEDES format, click the "Use UTBMS Codes" check box to enter Uniform Task-Based Management System (UTBMS codes).

9. Enter the hours and costs associated with this billing item. If an hourly rate is specified in the Contact page for the person doing the work, it will be shown here. You can override this rate on this page if you wish.

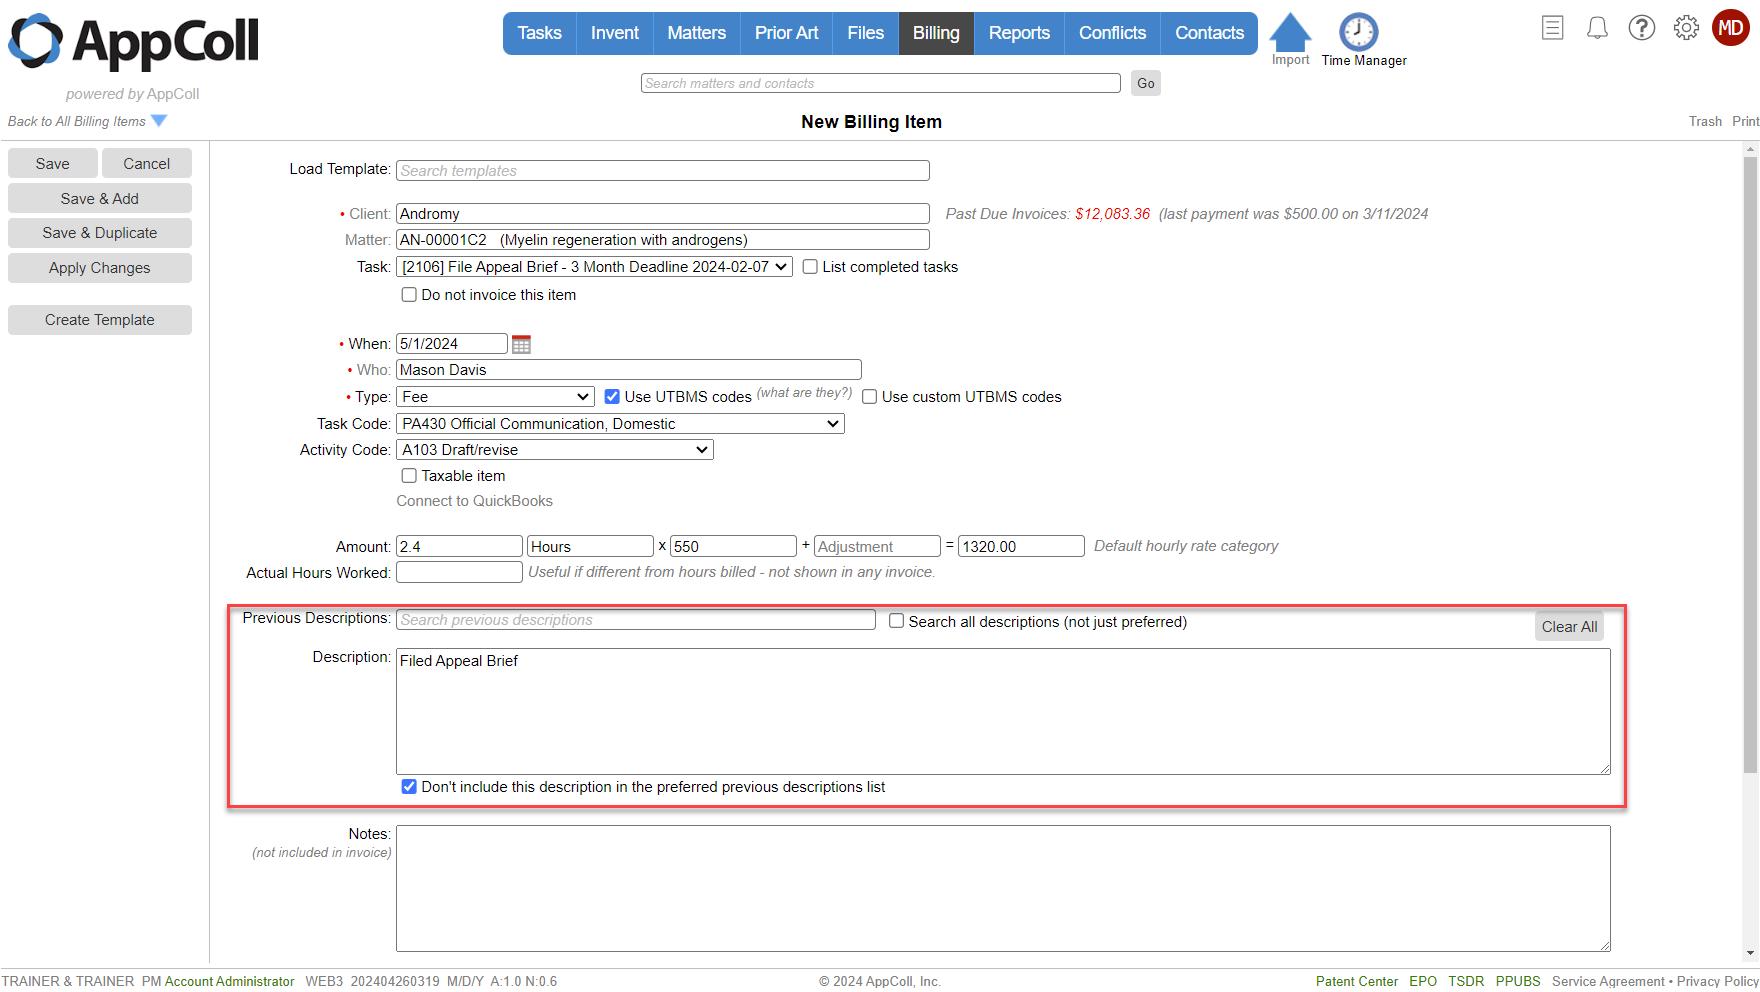
10. (optional) Enter a description of the charges in the Description text box, which will be shown on the invoice.
- If you wish to use a previously entered description for a billing item, select it from the Previous Descriptions by clicking in the text box and typing the beginning of the description.
- If you do not want to use a previously entered description, simply enter a new description.
- If you wish the description to be reused in other billing items, make sure that the “Don’t include this description in the preferred previous descriptions list” checkbox is unchecked.

11. Click on the Save button in the left margin.