Please note: This feature is only available in AppColl Plus. Click here for pricing and details on the plus features.

Use the following links to access the corresponding articles:
* Sending Client Contact information to QuickBooks
* Importing QuickBooks Customers as AppColl Client Contacts
* Sending AppColl Invoices to QuickBooks
* Importing Payments applied to Invoices from QuickBooks
Two Easy Ways to Get Connected
Note: You must have administrator rights in QuickBooks to authorize the connection to AppColl.
Option 1:
- On the Manage Invoices page, click the QuickBooks button.
- Select any of the pop-up options.

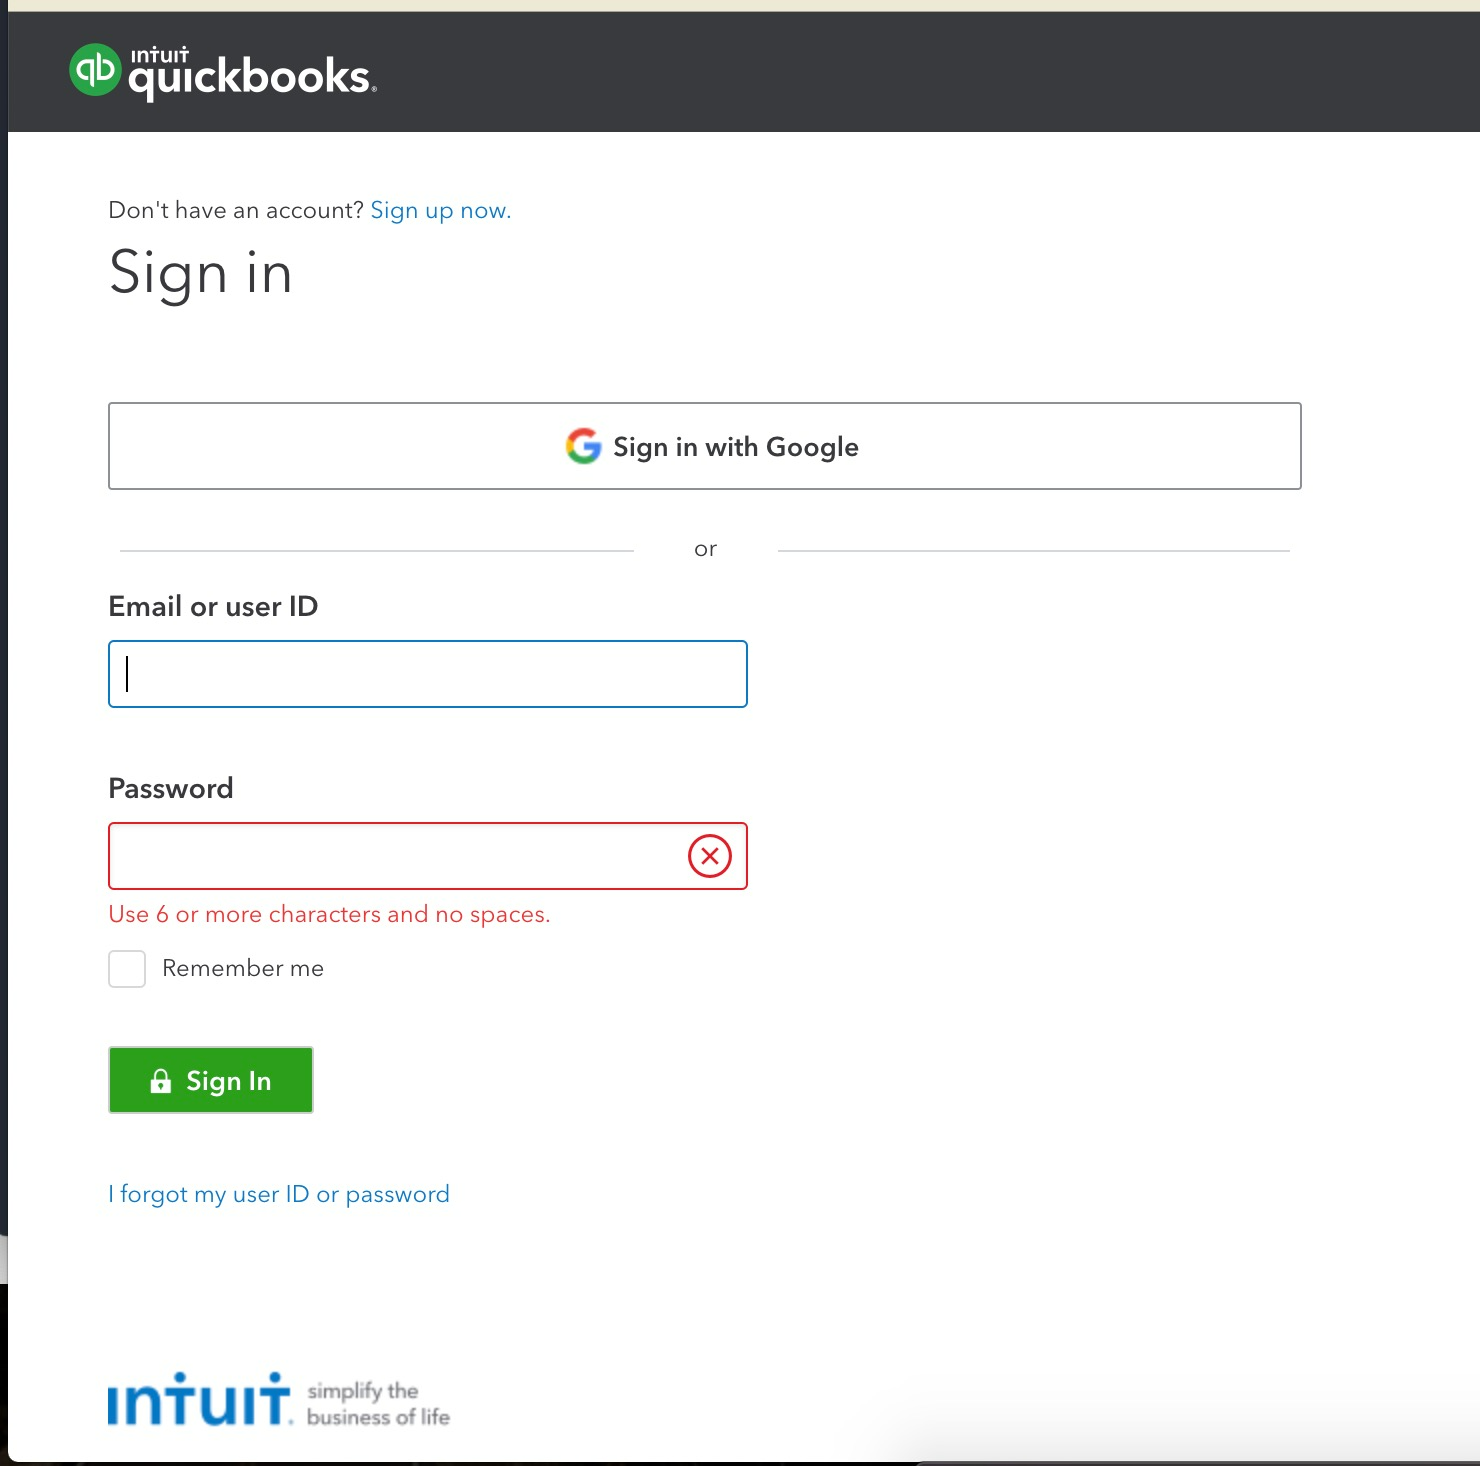
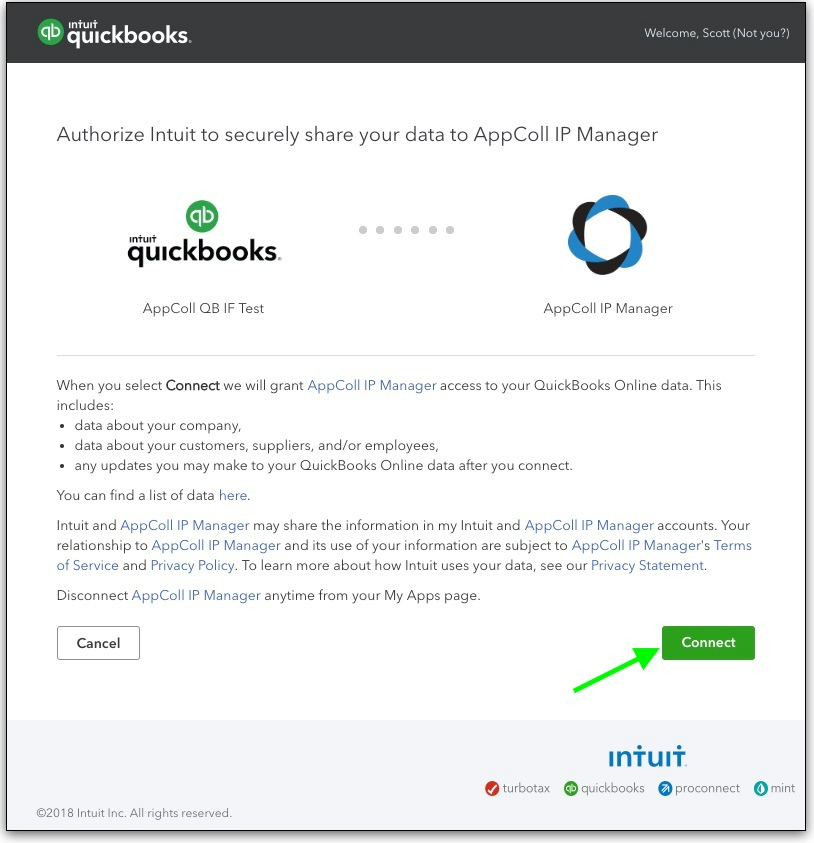
- Upon clicking one of the operations, you'll be automatically sent to QuickBooks to authorize AppColl. You'll log into QuickBooks using your QuickBooks login and click a button to confirm the connection. You'll come back to AppColl where your operation will continue.

Option 2:
- Go to Settings.
- Click the Billing tab.
- Click Connect to QuickBooks to display this information in the QuickBooks Account Mapping section. You will be prompted to log in.

Non-Administrator Access
If there is a non-Administrator you'd like to have access to QuickBooks, you'll see an Enable QuickBooks access checkbox by going to their Contact record and clicking the Permissions button.
